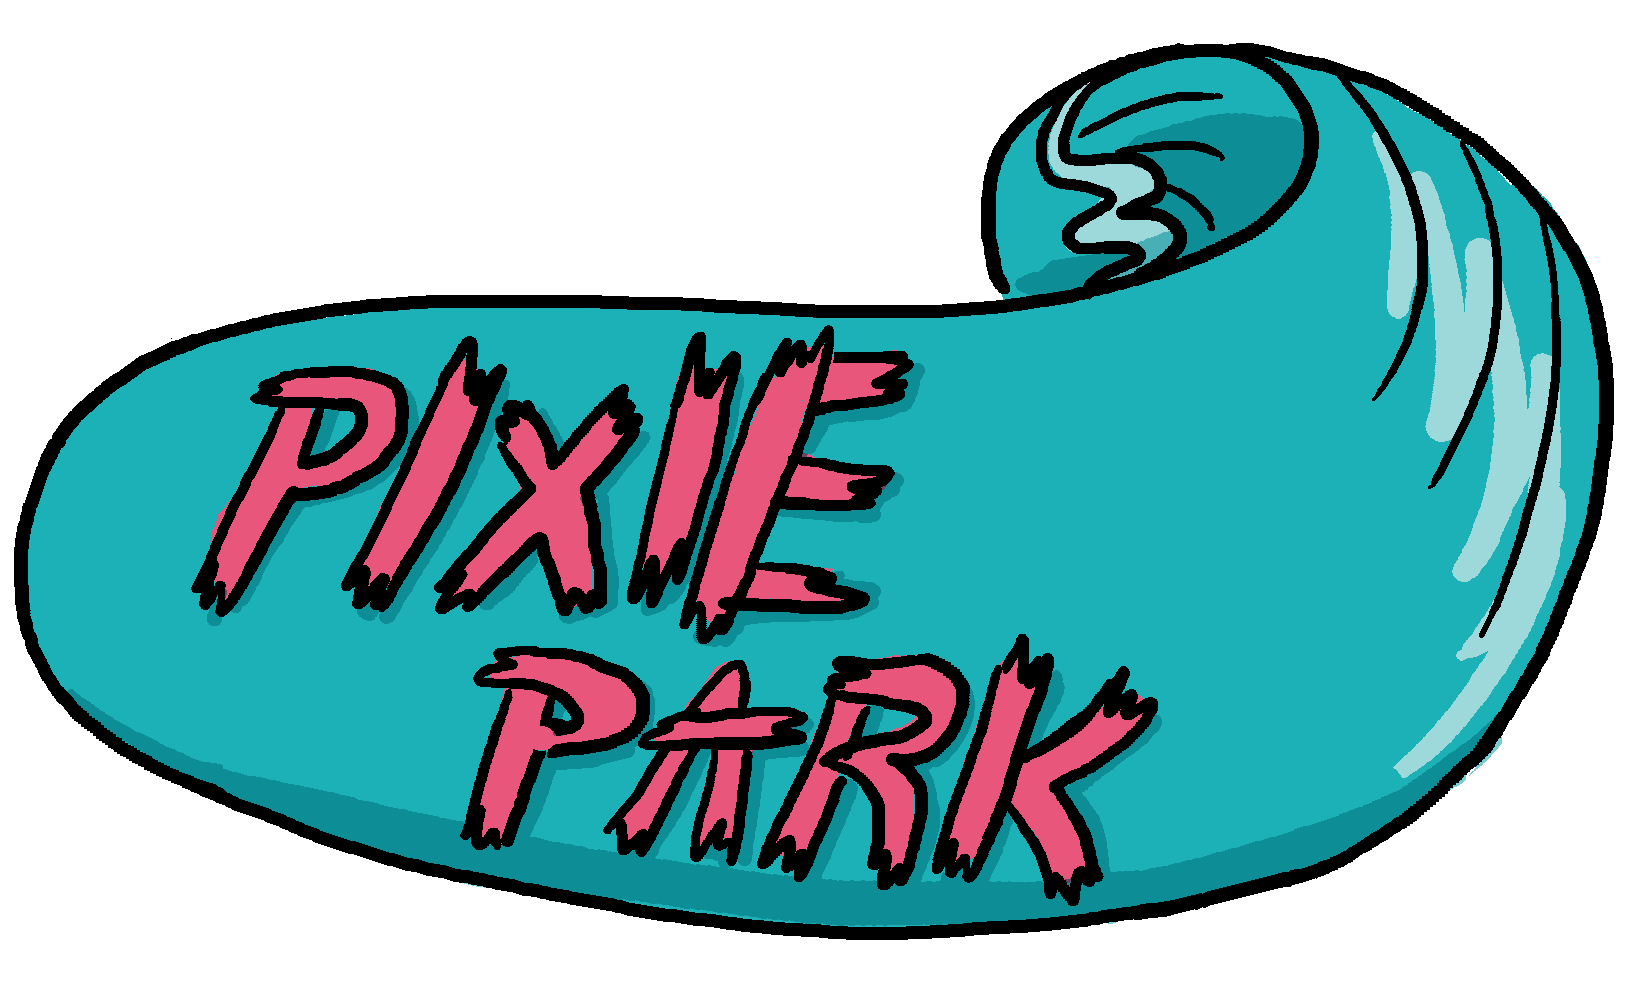
It's time to throw a craft party 8)
here's how to make your own pixie park merch with freezer paper stencils! i used shirts for the sake of this demo, but this will work for any fabric! totes, hoodies, idk, towels??
i have created a few different stencils that you can use to make your shirt! their borders are color-coded based on how difficult they are. red means hard, orange means moderate, green means easy!
a few disclaimers up top! these stencils will be one-time use only, so prepare for the heartbreak of watching your hard work crumble away! I have also found that the bleach method works best on the bigger, simpler stencils because the bleach can leak under the stencil pretty easily. it doesn't mix well with thin, complex lineart! lastly, IF YOU ARE A CHILD PLEASE GET AN ADULT TO HELP YOU!! the ironing and cutting part of this project are no joke!! don't risk your hands for stupid t-shirt!!!


what you will need:

the following are optional/depend on what method you are doing!
pull up the stencil on a monitor or screen and trace the stencil on the rough/toothy side of the freezer paper! this is the first place i find the masking tape useful to hold the paper still while i trace!
you can also print out the stencil and trace the printed paper, if you have access to a printer!

cut out the stencil on your cutting board with the xacto knife! BE VERY CAREFUL!! and be cognizant of which part of the stencil you are trying to preserve!

begin ironing the stencil to the shirt, with the waxy/smooth side of the paper down. i like to iron the pieces down one by one, starting with the biggest piece first, then fill in the little pieces afterwards.

once your stencil is secure to the fabric, it should look like the opposite (or negative!) of what you want the design to look like in the end. if you want your image to be lighter against darker fabric, the stencil should cover the parts you want to keep dark. if you want your image to be darker on light fabric, your stencil should cover the parts you want to keep light. etc!

prepare your shirt for application!
for spray application methods (bleach, spray fabric paint), you'll want to be extra safe and tuck away bits you don't want to be painted away from view. this is the second optional place i find masking tape comes in handy!

for paintbrush or sponge brush application, make sure to put cardboard in the shirt to separate the front and back, to make sure the paint doesn't bleed through to the other side. You can also do this for spray application if you want!
apply your painting method of choice! if you're using bleach, make sure it's diluted enough that it doesn't come out of the bottle in big globs!

remove the stencils! I like to remove bleach stencils very quickly after spraying, as the bleach can soak through the paper and cause issues with your image. for paint, let the paint dry a bit before trying to remove it otherwise you're going to get MESSSYYYYY!

VIOLA! you have a shirt! :D

personally, i LOVE using this method to make shirts completely aside from merch! each shirt is one-of-a-kind, and you can do pretty much anything with it if you have the right equipment/prep! i wholeheartedly recommend it as a cheap and easy way to customize your closet to feel more you! :D i hope you have fun, and i hope you make something really really cool for yourself!!
if you have any questions, please reach out at boredomarchive@pm.me !